- Posts: 1178
- Thank you received: 265

Rebuild Thread - EF 104 Extra
- JonTappin
-
 Topic Author
- Offline
- Platinum Member
-

Less
More
23 Mar 2016 21:49 #8356
by JonTappin
Replied by JonTappin on topic Rebuild Thread - EF 104 Extra
Thanks for the comments chaps ") Haven't managed to get much time on this for the last couple of weeks but hope to get back on it over Easter, will update again when I've got some progress to show
Haven't managed to get much time on this for the last couple of weeks but hope to get back on it over Easter, will update again when I've got some progress to show
Haven't managed to get much time on this for the last couple of weeks but hope to get back on it over Easter, will update again when I've got some progress to show Please Log in or Create an account to join the conversation.
- Dante
-

- Offline
- Junior Member
-

Less
More
- Posts: 79
- Thank you received: 7
24 Mar 2016 14:51 #8359
by Dante
Replied by Dante on topic Rebuild Thread - EF 104 Extra
Just goes to show that in the 70's and 80's when kits had to be built from scratch or die cut parts at best, before CNC and laser cutting, developed skills honed from experience that seem to be lost in the present day of total ARTF. Congratulations on a really skilled rebuild, skills once learnt will always stay with you. Really well done Jon, look forward to the re-maiden in due course.
The following user(s) said Thank You: JonTappin
Please Log in or Create an account to join the conversation.
- JonTappin
-
Topic Author
- Offline
- Platinum Member
-
Less
More
- Posts: 1178
- Thank you received: 265
01 Apr 2016 17:11 - 01 Apr 2016 17:12 #8456
by JonTappin
Replied by JonTappin on topic Rebuild Thread - EF 104 Extra
Been back on it this week at last.
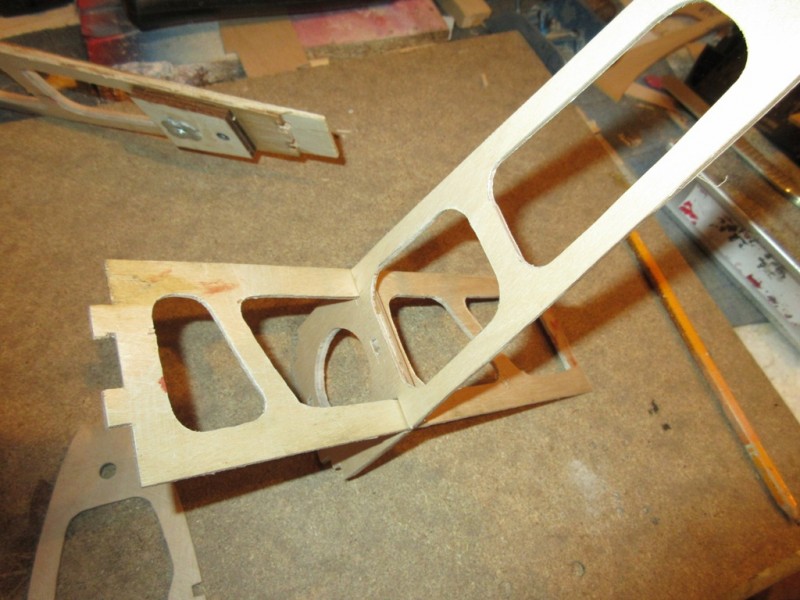
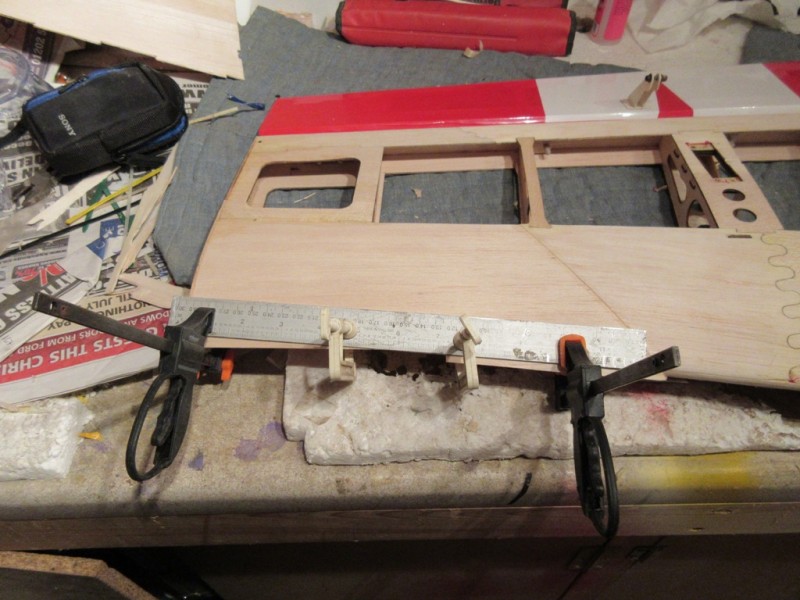
Next job was remake the root rib, this is laminated from 2mm ply and balsa, cut out by hand using the bits left over as a pattern, filling in missing bits by taking dimensions from the other wing. Once made I had to make sure the incidence pins and wing tube lined up with the fusleage accurately, I mounted the rib using the aluminium pins, then using the wing tube and a pencil I covered the end with lencil lead and used it to mark the root rib.
Next job was remake the root rib, this is laminated from 2mm ply and balsa, cut out by hand using the bits left over as a pattern, filling in missing bits by taking dimensions from the other wing. Once made I had to make sure the incidence pins and wing tube lined up with the fusleage accurately, I mounted the rib using the aluminium pins, then using the wing tube and a pencil I covered the end with lencil lead and used it to mark the root rib.


Last edit: 01 Apr 2016 17:12 by JonTappin.
Please Log in or Create an account to join the conversation.
- JonTappin
-
Topic Author
- Offline
- Platinum Member
-
Less
More
- Posts: 1178
- Thank you received: 265
01 Apr 2016 17:18 #8457
by JonTappin
Replied by JonTappin on topic Rebuild Thread - EF 104 Extra
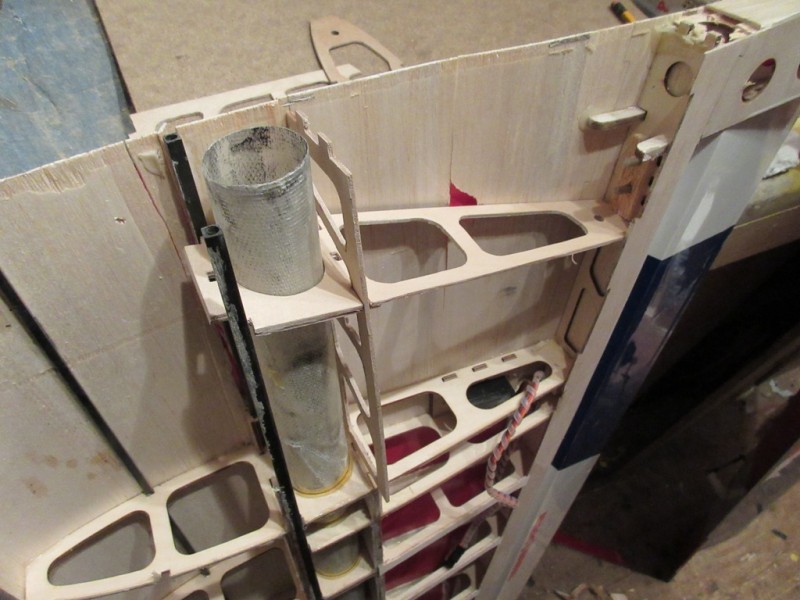
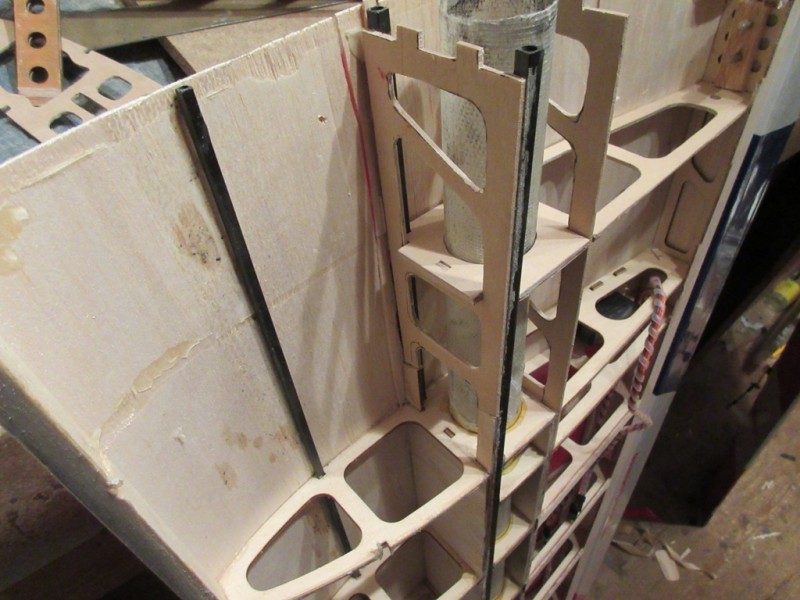
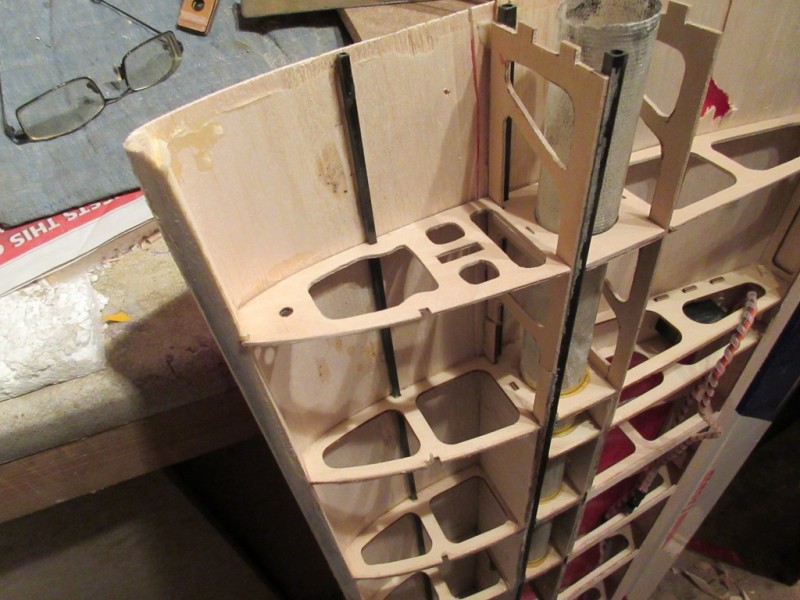
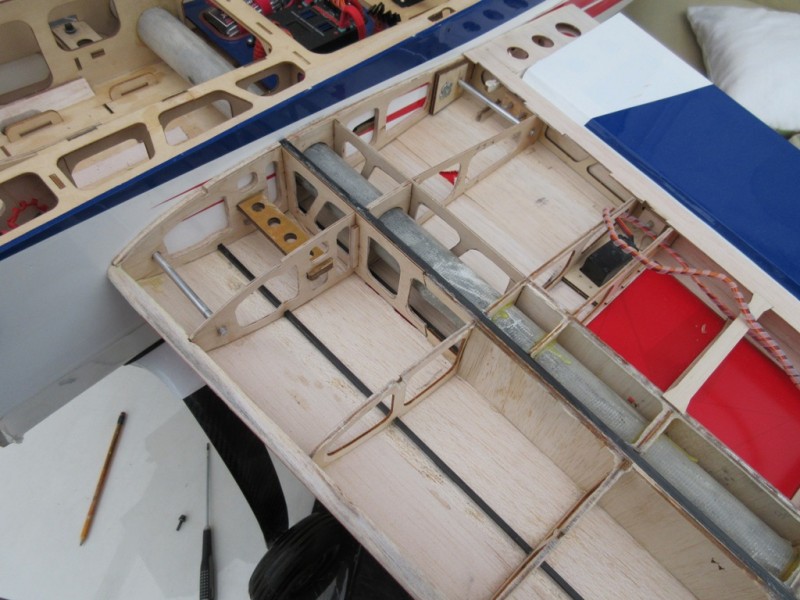
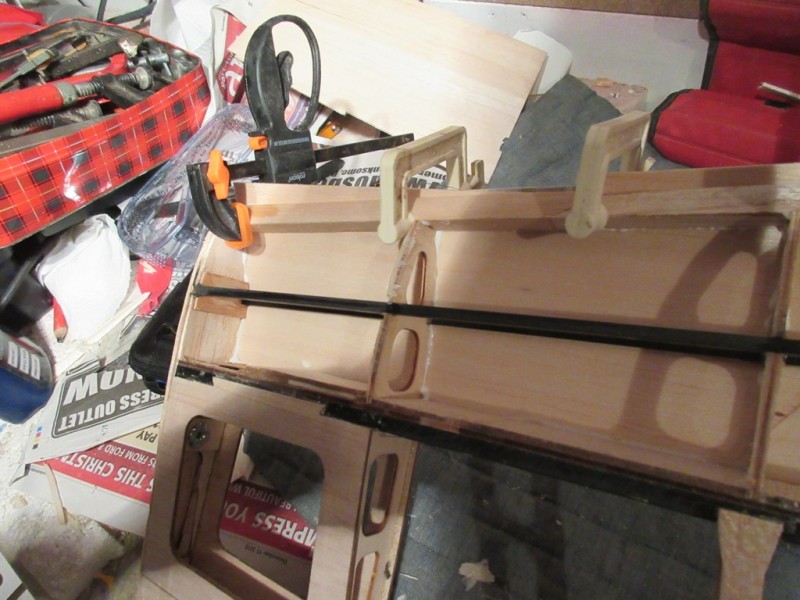
These photos show all of the remade internal parts complete, then assembly into the wing, I managed to copy some of the original location tabs to make sure everything lined up correctly.
I assembled everything dry, then when happy wicked this cyano into the joints.
You will see that there was a reasonable amount of damage to the bottom wing skin from these pictures, this would be dealt with as one of the next jobs!
I assembled everything dry, then when happy wicked this cyano into the joints.
You will see that there was a reasonable amount of damage to the bottom wing skin from these pictures, this would be dealt with as one of the next jobs!


Please Log in or Create an account to join the conversation.
- JonTappin
-
Topic Author
- Offline
- Platinum Member
-
Less
More
- Posts: 1178
- Thank you received: 265
01 Apr 2016 17:24 #8458
by JonTappin
Replied by JonTappin on topic Rebuild Thread - EF 104 Extra
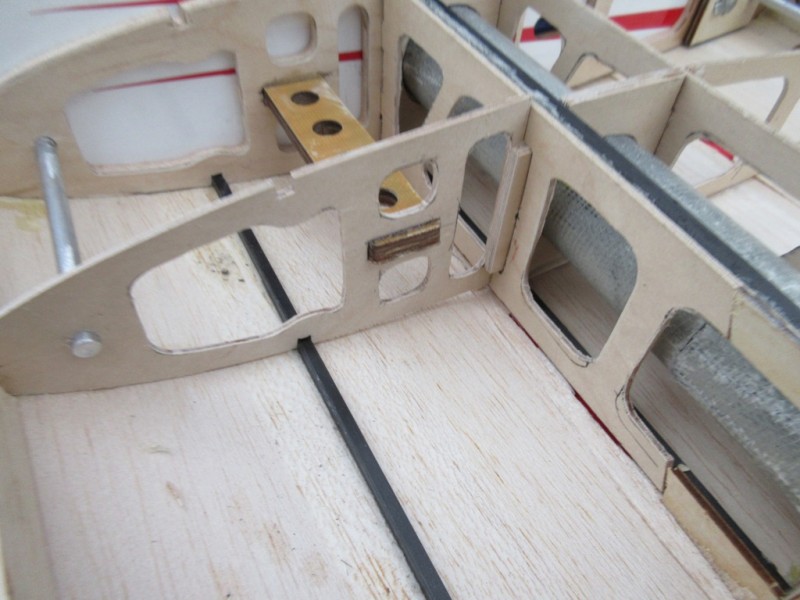
Next, the root rib went in, followed by the aluminium incidence pegs and the the balsa spar webbing facing the ply pieces


Please Log in or Create an account to join the conversation.
- JonTappin
-
Topic Author
- Offline
- Platinum Member
-
Less
More
- Posts: 1178
- Thank you received: 265
01 Apr 2016 17:34 - 01 Apr 2016 17:35 #8460
by JonTappin
Replied by JonTappin on topic Rebuild Thread - EF 104 Extra
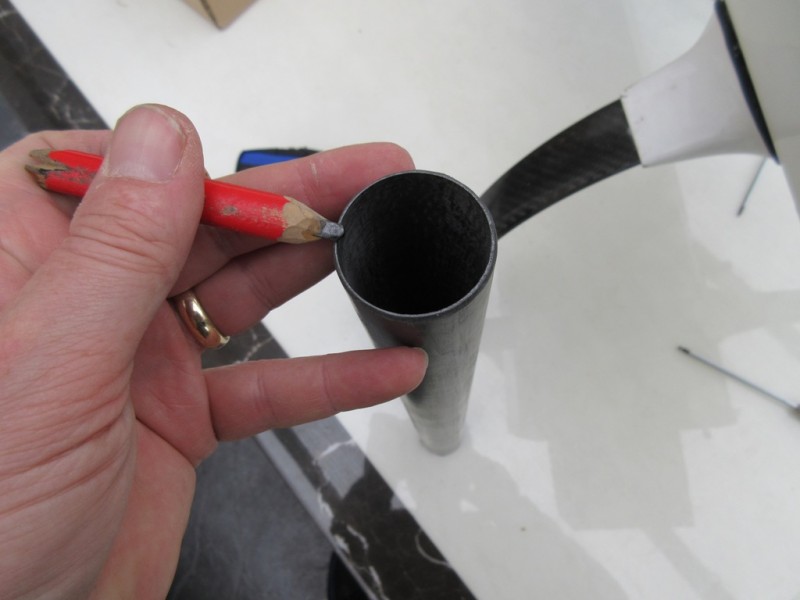
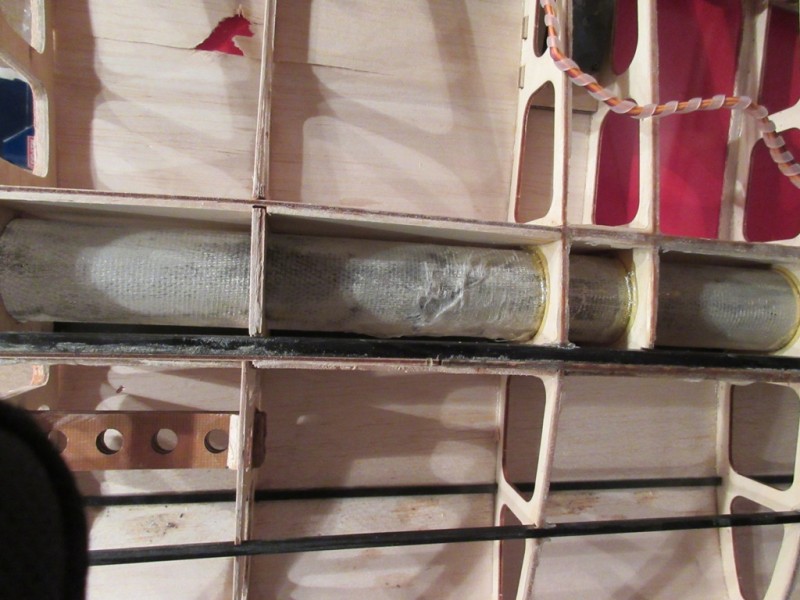
Next I tackled the wing tube liner repair. As mentioned earlier in the thread, I was concerned about this as I had to do it with the wing tube in to ensure it kept it's shape, I was right to be concerned as it nearly caught me out.
Using part of the original broken wing tube, I covered it with silicon grease then inserted it into the tube being careful not to snag the broken edges of the liner tube which is made from very thin glass cloth. I then took some wing skinning cloth, cutting small pieces, laying them on then soaking in this CA. While I did this I kept rotating the carbon tube to make sure it didn't bond, I wasn't expecting it to bond with the silicon grease layer, but when I tried to rotate it I couldn't :ohmy: Luckily by turning it as hard as I could it broke free before the glue really had time to properly bond, there was much relief!! Had I not been able to release it, it would have been a disaster
It was really surprising that the glue bonded through the layer of grease, lesson learnt and luckily no harm done.
The repair was successful in the end.
Last edit: 01 Apr 2016 17:35 by JonTappin.
Please Log in or Create an account to join the conversation.
- JonTappin
-
Topic Author
- Offline
- Platinum Member
-
Less
More
- Posts: 1178
- Thank you received: 265
01 Apr 2016 17:42 #8462
by JonTappin
Replied by JonTappin on topic Rebuild Thread - EF 104 Extra
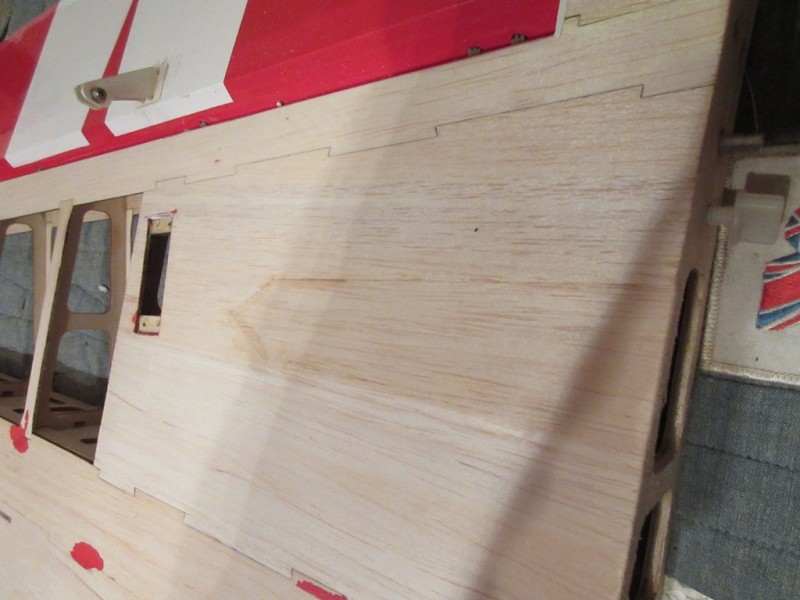
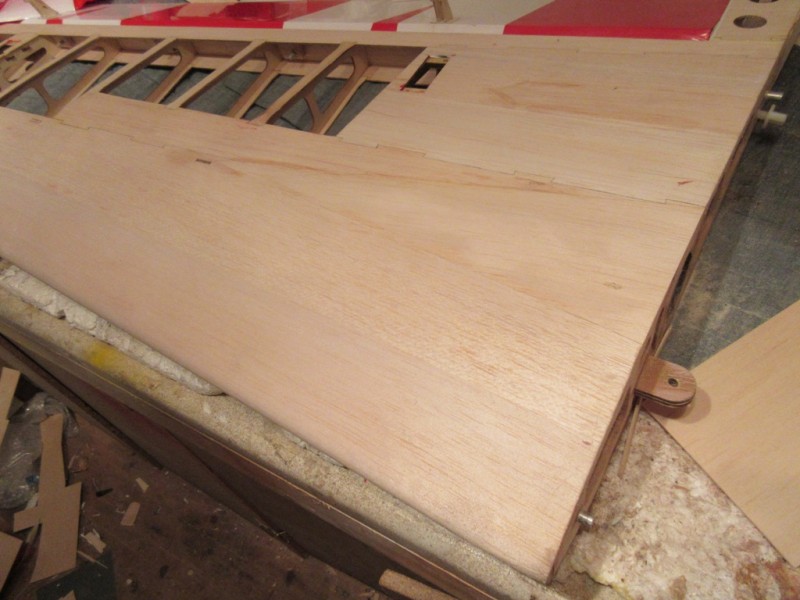
As mentioned, I realised I needed to repair the bottom skin, so stripped the film covering from the bottom, this revealed 2 main areas of damage near the wing root. I cut out tapered pieces of new skin which covered the damaged areas, squared the edges with a Permagrit sanding block, then cut through the existing skin using the new bits as a guide. By making them tapered in width meant that they can be adjusted by pushing them in from the root ensuring a tight joint, once happy with the fit, I used pva to the ribs and spar then with the new sheet in position, thin CA run along the joints


Please Log in or Create an account to join the conversation.
- JonTappin
-
Topic Author
- Offline
- Platinum Member
-
Less
More
- Posts: 1178
- Thank you received: 265
01 Apr 2016 17:48 #8463
by JonTappin
Replied by JonTappin on topic Rebuild Thread - EF 104 Extra
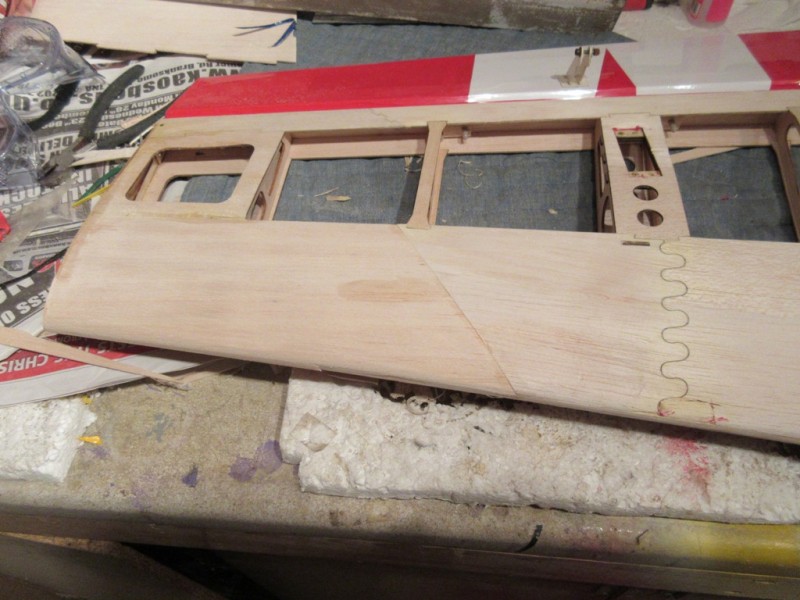
Next I repared the wing tip and patched the bottom skin, again just using the old parts as patterns where possible, with measurements taken from the other wing.
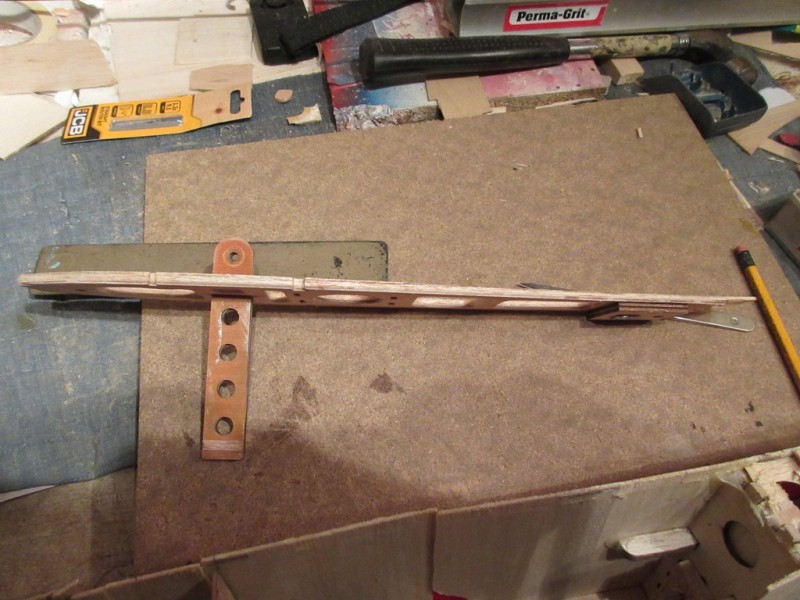
Although I don't use them, I had to replace the blind nut and reinforcing plate at the front of the tip that is used to secure the SFG's, I might want to try them again in the future.
Although I don't use them, I had to replace the blind nut and reinforcing plate at the front of the tip that is used to secure the SFG's, I might want to try them again in the future.


Please Log in or Create an account to join the conversation.
- JonTappin
-
Topic Author
- Offline
- Platinum Member
-
Less
More
- Posts: 1178
- Thank you received: 265
01 Apr 2016 17:49 #8464
by JonTappin
Replied by JonTappin on topic Rebuild Thread - EF 104 Extra
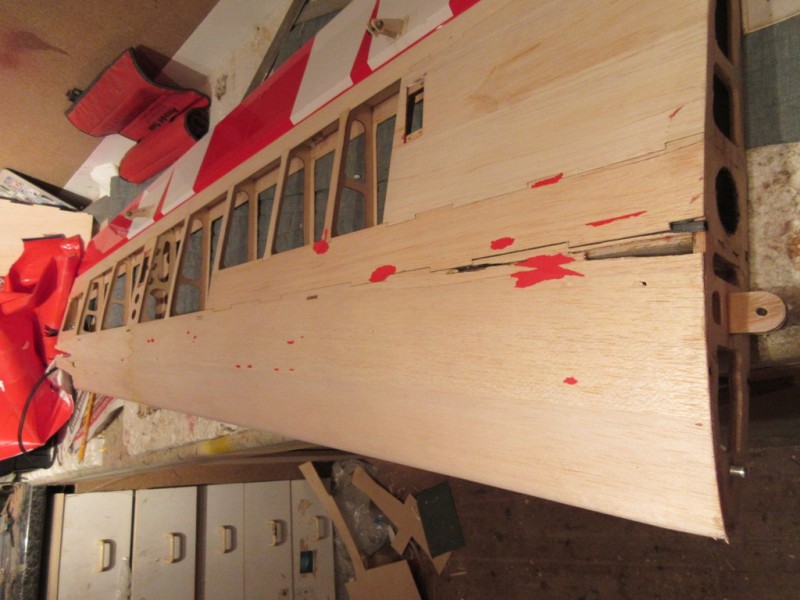
Bottom of the wing finished


Please Log in or Create an account to join the conversation.
- Phil Ford
-

- Offline
- Moderator
-

Less
More
- Posts: 3156
- Thank you received: 903
01 Apr 2016 17:52 #8465
by Phil Ford
Replied by Phil Ford on topic Rebuild Thread - EF 104 Extra
Really good work Jon. Hand cutting bits out is slog work but necessary evil. ") I too was surprised that CA finds it's way through grease. I use Vaseline on the edges of surfaces when I am CAing hairy hinges, that seems to stop it sticking the control surface to whatever especially when a close fit is required and I have over done the "few drops" required.
I too was surprised that CA finds it's way through grease. I use Vaseline on the edges of surfaces when I am CAing hairy hinges, that seems to stop it sticking the control surface to whatever especially when a close fit is required and I have over done the "few drops" required.
I notice that your wings have square carbon tube installed. I might try that idea myself when beefing up a repair.
I too was surprised that CA finds it's way through grease. I use Vaseline on the edges of surfaces when I am CAing hairy hinges, that seems to stop it sticking the control surface to whatever especially when a close fit is required and I have over done the "few drops" required.I notice that your wings have square carbon tube installed. I might try that idea myself when beefing up a repair.
Please Log in or Create an account to join the conversation.
Moderators: DaveBright
Time to create page: 0.551 seconds
Latest Posts
- No posts to display.
©
2009 - 2026
WMAC PCF Design