Scrap Box Challenge
A Lockdown Project. Hopefully by the time this is published, ‘lockdowns’ will be a fading memory. In mid-2020 like a lot of us, I was stuck at home (we weren’t allowed out) and everywhere was shut, including our flying field (I was a member at Sevenoaks & District MAC then) and the model shops. To pass the time, I decided to build a plane from my box of spare and offcut balsa and plywood, plus other bits and pieces I’ve accumulated over the years.
In selecting the design, it needed to be for an IC engine that I already had, need no more balsa than I had in my box, to a plan that I already had and be interesting to me in some way. Perversely, being complicated or time consuming was part of the attraction – I had time to kill.
Rooting through all the old plans I’ve accumulated, I found a 1930s looking monoplane, called TED 2 by Phillip Rawson. Described as ‘a 45’’ wingspan aerobatic model for 2 – 4 function R/C & 0.20 - .25 size motors. It looks like it was a free plan from a magazine and judging by the yellowing paper, of some age. Needless to say there were no instructions and as I was to discover, it was probably published as two plans, because several details (notably certain formers) were missing.
I had an old OS 25 FP, bought some mini servos and bits of hardware off Sussex Models online and then had everything I needed, or almost. The model has a cowling and forward fuselage sheeting, requiring lithoplate. Luckily, I managed to track some down from a local printer.
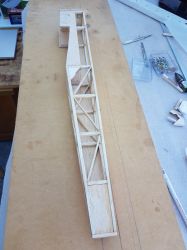
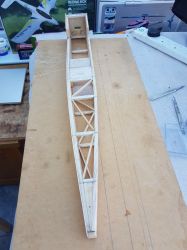
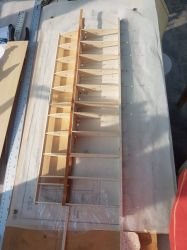
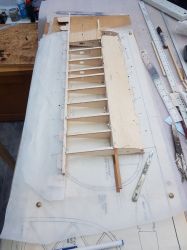
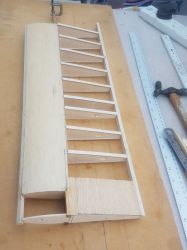
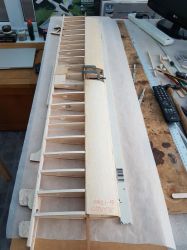
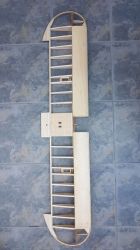
I made a lot of modifications to the wing. The undercarriage was to be mounted half to the fuselage and half to the underside of the wing. This would be difficult for me to fabricate sufficiently accurately, a fuss to fit at the field and no doubt result in constant repairs to the wing because of heavy landings. I therefore modified the design so that the undercarriage was all fixed to a strong plate on the fuselage which resulted in a more complicated wing construction at the root. Instead of the original single servo-controlled ailerons I installed one for each, within the wing. Also, I modified it by sheeting forward of the main spar to form a strong ‘D’ box section. The original design had more ribs than a Chinese takeaway - far too many, so these were reduced to add lightness (or compensate for weight added elsewhere) and I cut holes into the solid ailerons too. I also added cap strips.
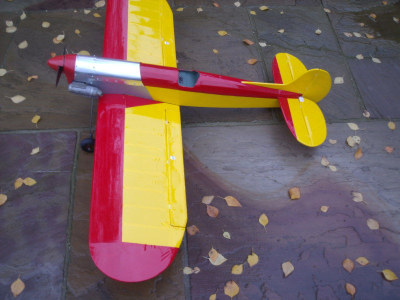
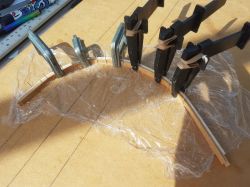
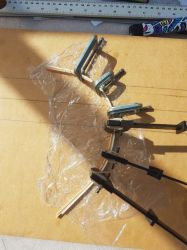
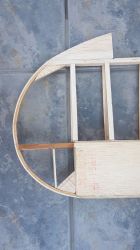
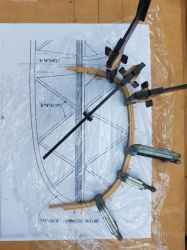
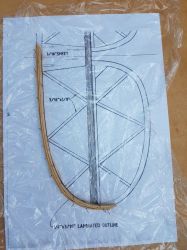
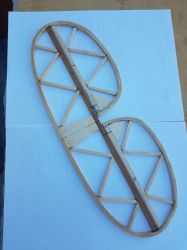
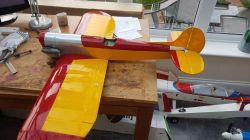
From the photos you’ll see that the wing tips, and tail feathers are all formed by laminating complicated curves. A new technique to me but reasonably straightforward if time consuming. The finished result is surprisingly strong and of course very light.
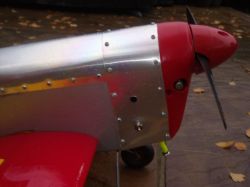
The lithoplate sheeting itself was easy enough to cut (scissors) and shape and gives the model an extra bit of character.
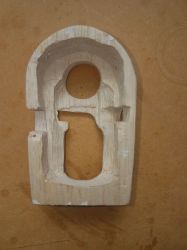
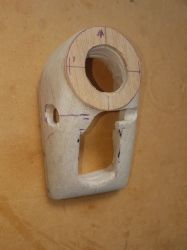
A particularly time consuming part was the cowl. The front part with compound curves is carved from 4 sheets of 6mm balsa glued together. It was very difficult to align all the cut outs and drill holes when making it, as there’s nothing on the rest of the fuselage to attach it to in the process. It then went through a seemingly never-ending number of filling, priming, painting and fuel proofing stages.
The undercarriage is from 2mm dia bent piano wire, soldered into gaiters at the inboard end of each axle. It’s got some awkward angled bends to form if all you have is a vice and a hammer. The result appears true enough though.
The model was finished with a variety of types of adhesive film, including some silver coloured Solatex (remember that?).
The first flight was at my new club Wimborne MAC (hurray). After a lot of fiddling to get the old engine running (it doesn’t appreciate being inverted), it eventually got airborne. A few clicks of trim and she was flying true as an arrow. A bit more on the aileron throws and she was nicely responsive in the turns. Landings were also drama free.
I learnt a few new techniques, kept myself busy and ended up with a lovely little plane.

