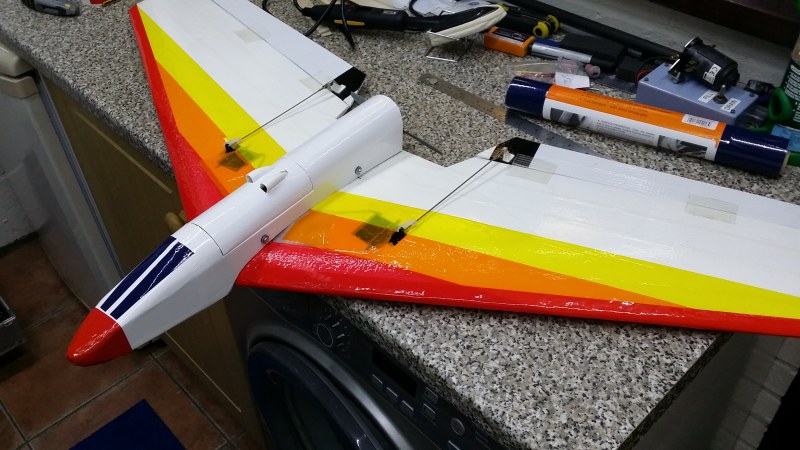
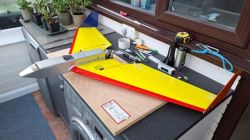
After a high speed vertical descent from 400 ft back in Spring 2024 after losing radio contact and left to gather dust in the corner of the hangar and with the Winter weather now arriving I thought it may be time to rebuild the Super Wing. The foam wing survived well being the original wing from numerous previous versions of the fuselage.
Underneath the coloured tape the 50mm packing tape had yellowed due to the ultra-voilet light from the sunshine over the past two years and the fibreglass mesh was turning to a powder. It did not take long to strip all the covering off as it happened. The wing is one of the original "Zagis" that came with EPO wing and EPP leading edges. The best version ever in my humble opinion compared to later clones.
With the wing cleaned off I now re-laid new 50mm packaging tape starting from the trailing edges. I covered the underside with white coloured tape. The top was covered in bright yellow for high visiblity. The servos, Spektrum AR6000's had also survived the impact so were left in situe.
Fuselage Design
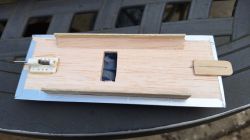
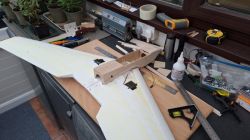
Vaguely remembering the length of the previous fuselage I scribbled some design ideas for this new fuselage on the back of a cornflake packet, this being possibly the MK12. The very early versions back in 2013 were made from plastic gutter downpipes and referred to by my flying "mates" as the "Flying Dildo". As my stock of balsa was limited including scraps bits bagged up in a bread bag I had to be careful not to be too ambitious. So, the fuselage sides were made from 2mm ply and the three formers also from 2mm ply, F1 for the nose cone, F2 battery bay and F3 to finish the fuselage backend. Using a SLEC modelling board for initial alignment I glued the formers in place supported by 1/4 tristock balsa.
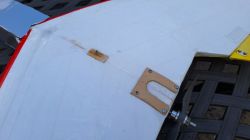
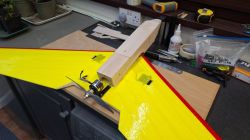
Whilst still in the modelling board I used the L brackets to squeeze the ply inwards from F1 and then glued with epoxy a balsa block to give the fuselage sides a curve towards the future nose cone (or effect). To secure the fuselage a bracket was made and hot glued to the wing. This had two 3mm spike nuts fitted and with two 3mm button head screws would secure the centre/rear of the fuselage. Another bracket was made and this would secure the fuselage at the centre wing leading edge. I small nylon bolt from underneath would secure the front.
Now that the fuselage had some resemblance of a fuselage I made the top surfaces from 5mm balsa sheet. These were made slightly over width so that when the ply sides are sheeted with balsa they sides and top can be blended in with a nice rounded edge. The battery hatch was made quite large learning from previous versions, to give ample room for battery placement and centre of gravity. The top front end surface was fun getting it to drop into the curve but after alot of fettling it was glued in supported by 1/4 tristock. On the opposite side the underside of the front fuselage was gived a 2mm ply hatch, this allowed for the option of placing the receiver in this area and gaining access in the future. Now just to sand down the nose into a more acceptable shape.
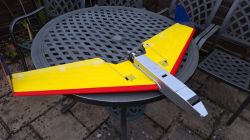
With all the major wood jobs done now it was time for some more fun creating wing fairings or something resembling fairings. The fairings were cut from thick balsa sheet from a paper template following the wing surface. Once I had the shape as close as possible I first sanded down the top edges to give a rounded effect. This would be difficult once glued to the fuselage sides. Before glueing I made three regularly spaced nicks on the top edge, thus allowing some flex if needed. After a well earned break It was time to covere the fuselage. Scrabbling in my leftovers draw of Oracover and Easycoat I plumped for Oracover Silver. It should glint in the sunshine whilst in flight!
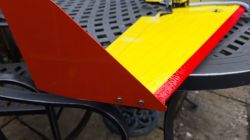
Nearly there! We need an air intake to allow cool air to get into the fuselage and cool the battery and ESC. The intake/scoop came from my junk box and after cutting a rectangular slot I glued the scoop on with UHU POR. Finally the winglets. Only one survived so I made two new ones again from 2mm ply nd covered them in Oracover blue and orange. Thinking visiblity! These are screwed on to the wing tips (they have embedded wooden blocks) as per the previous winglets plus a little application of UHU POR adhesive which hangs on well but also has some flexiblity.
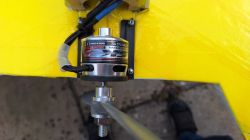
Test Time. The motor was the original SK3 3536 1400kv. ESC now was an old Eflite 60 amp (previously in an Eflite Habu). Receiver a Frsky R6R ACCST was used this time, the R4R had not survived. Had to swap two leads on the motor for the correct direction of rotation.
Note that the underside also has a bungy launch pin embedded into a hard wood block and glued in. It is launched from a homemade plastic tubular 2 meter ramp at 30 degrees angle. This is the safest way to get it flying especially with 600 watt motor on 4 cells powering an 8 x 6 prop.
Launching from the ramp and after the line has dropped off the wing will drop slightly and then power the motor and it's away. Once away from the ramp this wing really goes well. Vertical climbs no problem yet it can glide nice and stable back to the runway.
Look out for the first flight video when the weather improves....

