- Thank you received: 0

Back to Basics
- Brian
-
 Topic Author
- New Member
-

Less
More
01 Jul 2020 13:44 #22921
by Brian
Replied by Brian on topic Back to Basics
Good job I checked on the progress of the hinges. I made a mistake using the Teflon sheet, the hinges were just tacky, but the Teflon which was taped to the cutting board, was almost but not quite firmly stuck to it. I peeled the hinges off the Teflon and re-attached them to some Solarfilm backing. Gave the hinges another coat of PVA, then got into trouble by washing out the Teflon sheet in the kitchen sink. I'd used too much detergent, so it was just a bit too bubbly to go unnoticed. However its all therapy of a sort. While waiting for the hinges to dry, I whiled away an hour or so by fitting cyano friendly hinge strips to the Joker's (3D LabPrint electric glider) flaps and ailerons. I was pleased that I still don't have any unpleasant reactions from the HobbyKing superglue. I suddenly realised that all that's left to do on the Joker is fit the Rx and do the usual biz with servo settings. I wonder what excuse I can find to not fly it?
Please Log in or Create an account to join the conversation.
- Brian
-
Topic Author
- New Member
-
Less
More
- Thank you received: 0
01 Jul 2020 19:11 #22923
by Brian
Replied by Brian on topic Back to Basics
This afternoon I stitched the first pieces of hinge material. The actual sewing took very little time at all, however, reading the sewing machine's manual and persuading a nearly invisible cotton thread to go around, up, down and through the assorted bits of the maze which must be necessary for the machine to do its thing took an age. With the first hinge section completed, I cut off a small section to see if it would be OK. It ironed on without any fuss, and the "aileron" moved without undue effort. It wasn't until I was packing stuff away for the night that I realised that I hadn't used any PVA on the wood parts. Even so, the hinge was stuck quite firmly in position. Think this will be the way to hinge the Kadet's ailerons.
Please Log in or Create an account to join the conversation.
- Brian
-
Topic Author
- New Member
-
Less
More
- Thank you received: 0
19 Jul 2020 09:49 #22972
by Brian
Replied by Brian on topic Back to Basics
The Kadet build has had to be put aside for a while, the hinges are all made and the test hinge proved to be strong and very flexible. I've changed tack slightly on the engine for the Kadet. I intended to fit an OS FS .52 Surpass, but in an idle moment I came across a tired looking OS FS .40 on ebay,and I felt that it would be suitable as an alternative. The haggle made a welcome change to lockdown blues, and cleaning up the engine and checking its innards more or less got my enthusiasm going again. Fortunately I'd kept a few pre-drilled engine mounts, and even more fortunately, one of them was suitable for the FS.40. A couple of minor changes to the cowling to clear the needle valve is all that's needed. Before starting to cover the model, I needed to seal the airframe with thinned cellulose dope. I'd several jars under the bench, every one of them had dried out, so each jar contained a lump of stuff which looked like amber. Perhaps next time I'll drop in a fly or two and perhaps a mosquito, then try to sell the lumps as prehistoric items, although I think the lingering smell of cellulose will give the game away. The idea is to seal the parts of the airframe where the covering is to be attached. I'm using thinned PVA and the dope will stop the glue from soaking into the wood. As an old free flight enthusiast, I found that this method is easier and weighs less than two coats of PVA, the cellulose rubs down better too. One thing I completely forgot during the build was to provide access to the fuel tank, should have corked it up and fitted it before sheeting the top of the fuselage. No problem for a gynaecologist, but my short fat fingers need lots of space, so I'll take out the sheet infill under the nose. That'll make it a lot easier to fit the nosewheel steering too, which is something else I forgot!
Please Log in or Create an account to join the conversation.
- Phil Ford
-

- Offline
- Moderator
-

Less
More
- Posts: 3156
- Thank you received: 903
19 Jul 2020 09:59 #22973
by Phil Ford
Replied by Phil Ford on topic Back to Basics
In my limited experience of building when I have got to the point of sheeting part of the air-frame, I pause and say to myself three times "now is there any item or cabling needing putting in place before before I close it all in. Are you sure Phil?". :lol:
Please Log in or Create an account to join the conversation.
- Brian
-
Topic Author
- New Member
-
Less
More
- Thank you received: 0
19 Jul 2020 10:37 #22974
by Brian
Replied by Brian on topic Back to Basics
It's me age dearie!
Please Log in or Create an account to join the conversation.
- 4Pedalsfly
-

- Offline
- Platinum Member
-

Less
More
- Posts: 800
- Thank you received: 202
20 Jul 2020 23:56 - 21 Jul 2020 00:01 #22991
by 4Pedalsfly
Replied by 4Pedalsfly on topic Back to Basics
Brian - Prompted by your tale of congealed dope, I thought about my tin that was last opened
about a year ago - the contents now have the consistency of porridge but with the addition of cellulose
thinners and a bit of rapid stirring will probably be usable.
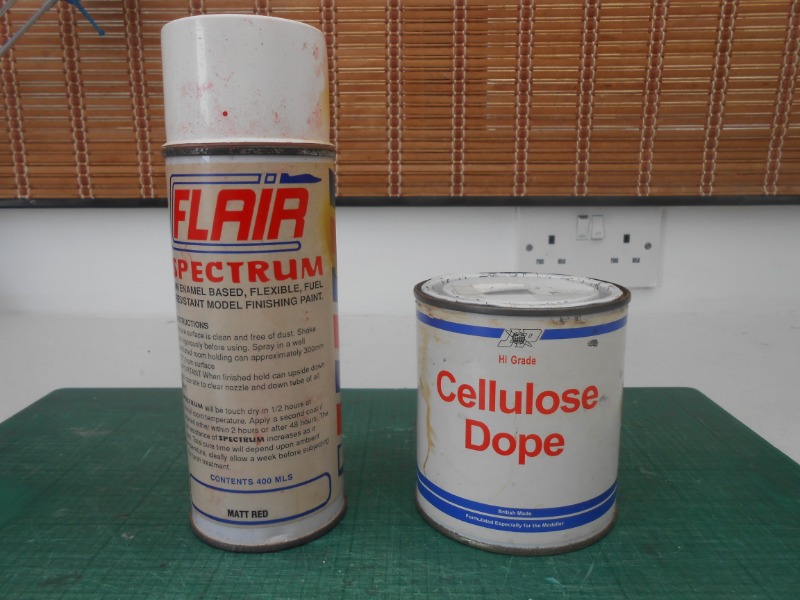
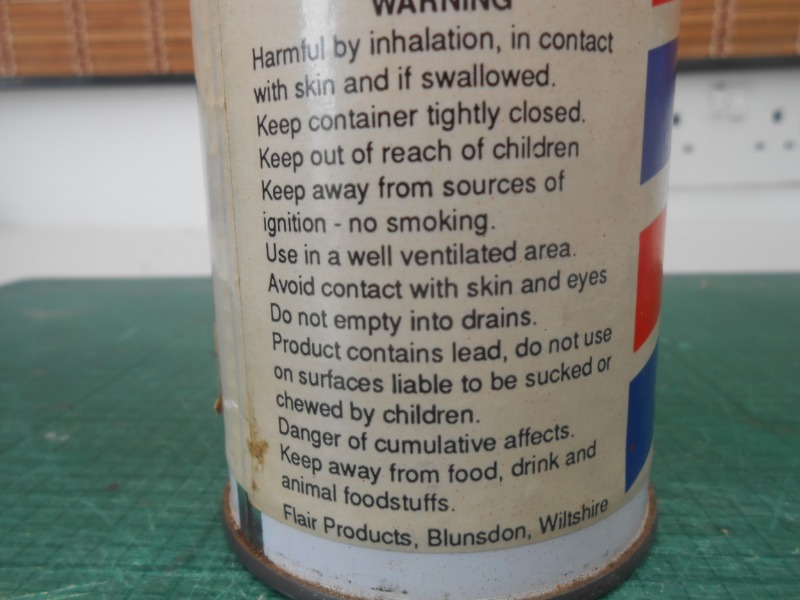
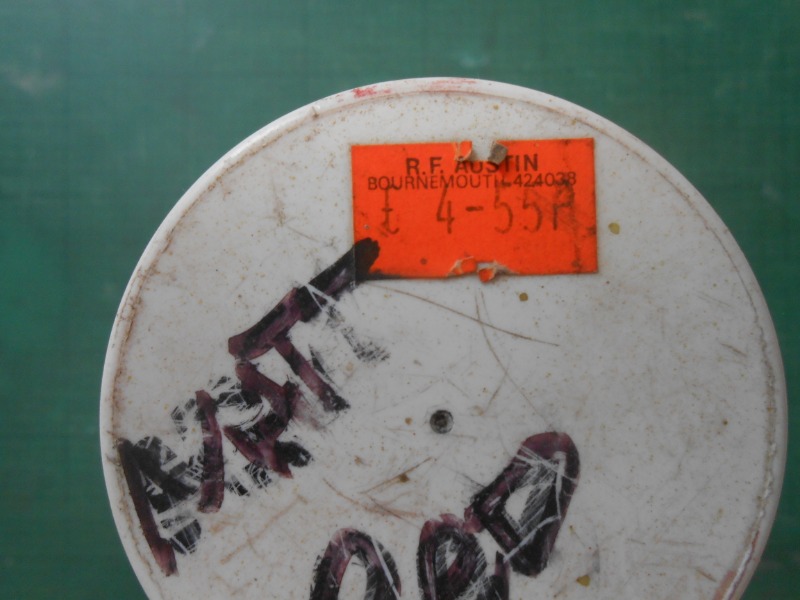
In the same box was a spray tin of Flare Spectrum paint, this originated from R.F.Austin Model Shop
in Southbourne - remember Robin Sparrow ?- the scary bit is all the health warnings- yes we have survived.
Pics attached - Health Warning - is an interesting read.
Colin.
about a year ago - the contents now have the consistency of porridge but with the addition of cellulose
thinners and a bit of rapid stirring will probably be usable.
In the same box was a spray tin of Flare Spectrum paint, this originated from R.F.Austin Model Shop
in Southbourne - remember Robin Sparrow ?- the scary bit is all the health warnings- yes we have survived.
Pics attached - Health Warning - is an interesting read.
Colin.
Last edit: 21 Jul 2020 00:01 by 4Pedalsfly.
The following user(s) said Thank You: Brian
Please Log in or Create an account to join the conversation.
- Brian
-
Topic Author
- New Member
-
Less
More
- Thank you received: 0
21 Jul 2020 18:29 #22996
by Brian
Replied by Brian on topic Back to Basics
Scary health warnings Colin, just think, if you'd used the stuff, you might not be here now. I remember R.F.Austin's model shop at Southbourne, always lots of interesting things to see.
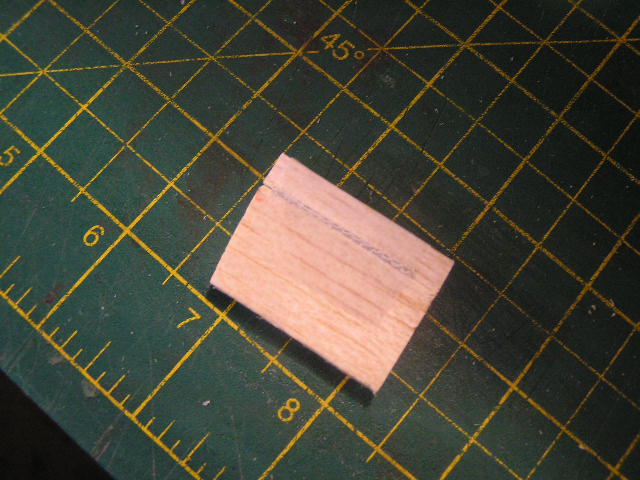
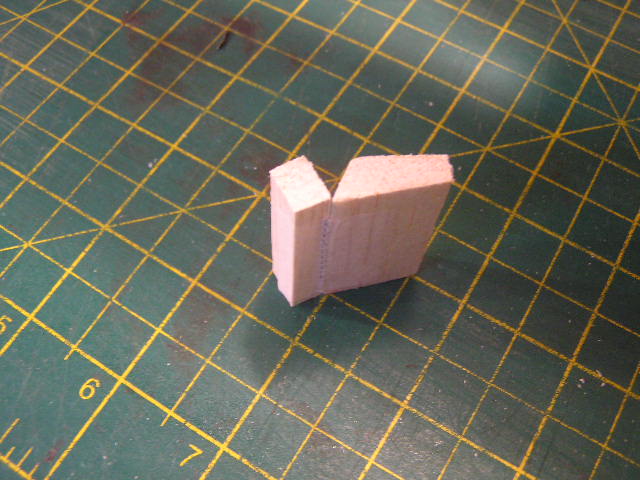
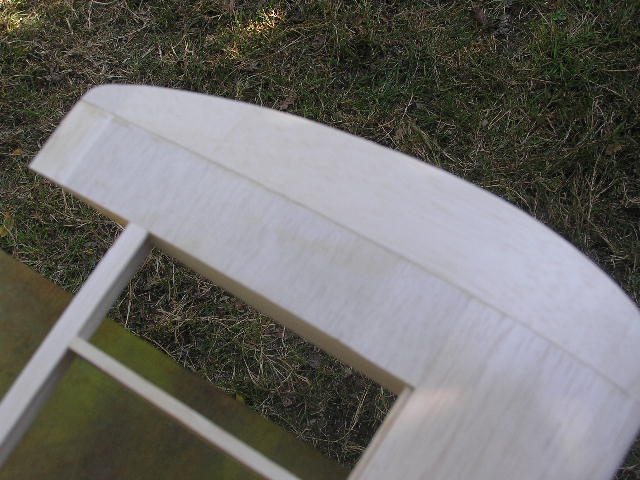
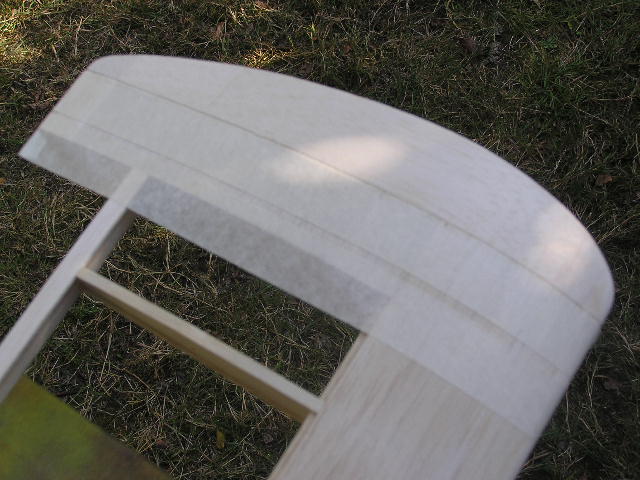
Today, with soft haired dope mop ready and lots of newly liquefied dope to hand.....DRAT!.....I'd forgotten that I hadn't made the tips for the wings. Glued up some 1/2" and 1/4" sheet. Left them clamped up for the morning. This afternoon I marked them and sawed them to approximate profile. Couldn't help grinning as the wood went smoothly through the bandsaw, years ago it would have been a hand powered fretsaw, probably a busted blade (or two) and a wobbly and very oversized tip profile. There it was, after a couple of hours, two tip blanks trimmed and glued to the wing. After tea (yeah! old fashioned, that's me) I taped up the wing sheet at the tips, this prevents bits being sanded off the sheet and makes a good template to get the surfaces of the tip block to match the profile of the wing section. You all knew that of course, but there might be a newbie out there, and all this might seem like a very confusing way to build a model. Hopefully, all will make sense....eventually. Perhaps tomorrow I'll get to slop a coat of thinned non-shrink dope over the areas where the covering is to be ironed on.
Today, with soft haired dope mop ready and lots of newly liquefied dope to hand.....DRAT!.....I'd forgotten that I hadn't made the tips for the wings. Glued up some 1/2" and 1/4" sheet. Left them clamped up for the morning. This afternoon I marked them and sawed them to approximate profile. Couldn't help grinning as the wood went smoothly through the bandsaw, years ago it would have been a hand powered fretsaw, probably a busted blade (or two) and a wobbly and very oversized tip profile. There it was, after a couple of hours, two tip blanks trimmed and glued to the wing. After tea (yeah! old fashioned, that's me) I taped up the wing sheet at the tips, this prevents bits being sanded off the sheet and makes a good template to get the surfaces of the tip block to match the profile of the wing section. You all knew that of course, but there might be a newbie out there, and all this might seem like a very confusing way to build a model. Hopefully, all will make sense....eventually. Perhaps tomorrow I'll get to slop a coat of thinned non-shrink dope over the areas where the covering is to be ironed on.
Please Log in or Create an account to join the conversation.
- Brian
-
Topic Author
- New Member
-
Less
More
- Thank you received: 0
03 Aug 2020 10:43 #23024
by Brian
Replied by Brian on topic Back to Basics
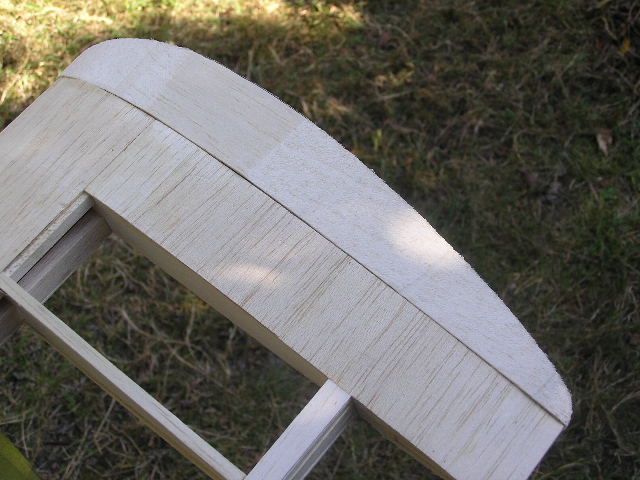
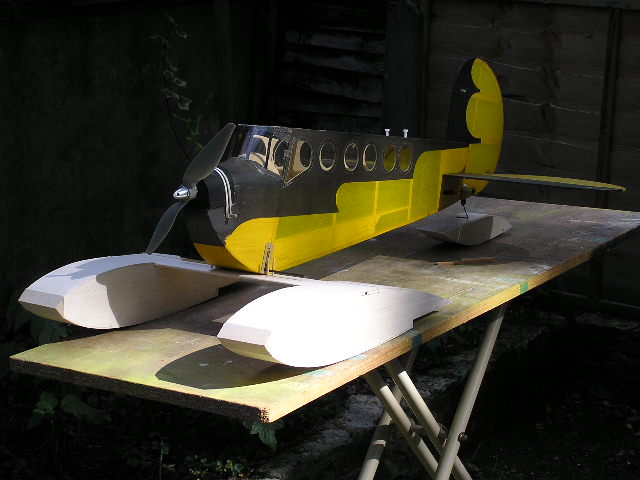
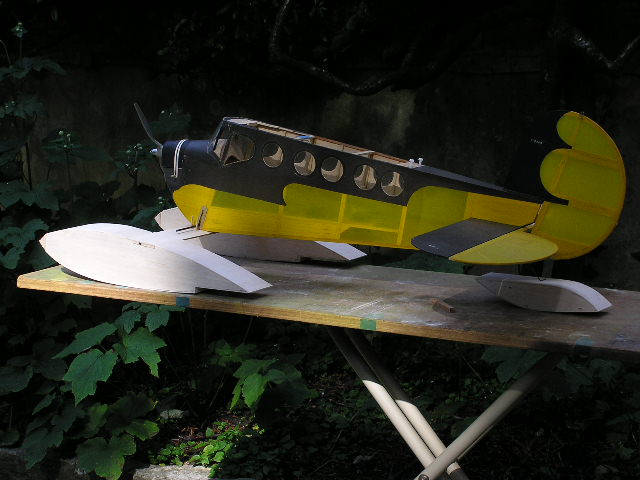
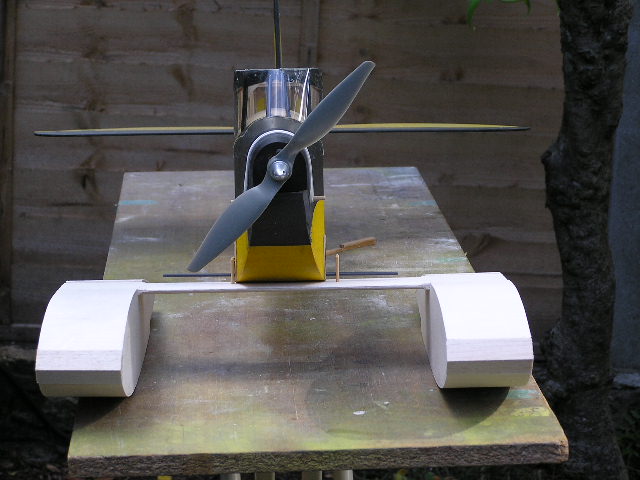
The Kadet's tips were sanded to section, but before carving and sanding the final shape, I thought it might be a good idea to de-clutter the bench. This took a couple of days. Now I had a bit more room, and before making more mess with shavings and dust, I finished removing the original OS FS.52, fortunately I checked the engine mounting bolt holes in the newly bought OS FS.40, and although the OS website shows a difference of 2mm in hole pitch, the .40 just sat nicely on the original bolts. That has saved making a new bulkhead and fitting a new mounting. Before I re-started the Kadet build, there were a few things I needed to do. One of them was to visit the Longham Lakes to see floatplanes being flown. Fascinating! Much better than I had expected. Some time ago I had considered 3D printing an Icon A5, but I printed the Joker warmliner/glider instead. I thought I'd like to try flying off water, but I really didn't want to buy another model. The answer was in my shed and computer all the time. The Lazy Bee has been in the shed for years, and all the details for making floats were downloaded from the OuterZone a long time ago. I found there's nothing like getting on with a different project helps the enthusiasm, when a long build jades things a bit. The floats are ready to be sealed, sanded and covered. I think the motor in the Bee might do the biz. I'm going to try to fly off wet grass first, rather than fit a different motor without testing.
Please Log in or Create an account to join the conversation.
- Phil Ford
-
- Offline
- Moderator
-
Less
More
- Posts: 3156
- Thank you received: 903
03 Aug 2020 12:40 #23025
by Phil Ford
Replied by Phil Ford on topic Back to Basics
You keep getting diverted Brian. Finish the Kadet, get it up the field and maiden it. ")
Please Log in or Create an account to join the conversation.
- Brian
-
Topic Author
- New Member
-
Less
More
- Thank you received: 0
03 Aug 2020 19:20 #23026
by Brian
Replied by Brian on topic Back to Basics
The Kadet is indeed the main subject of my posts, so far it has been a five month on/off task, partly because I want to make it last, and partly because I've made a good many mistakes resulting in remaking parts and even dismantling the rear end of the fuselage to correct a case of "banana-itis". The latest hold up is due to a change of engine and the fact that I've made fitting a tank difficult for myself. One thing I have been very busy with is writing what seem like endless letters to the planning department and various other sources of possible help. Sadly, in spite of all my efforts, we have ended up with a neighbour's newly built extension. This wasn't a problem until a toilet window was positioned right opposite our kitchen window. Unfortunately we are downwind of it. The shift to a quick build of floats for the Lazy Bee wasn't planned, it just happened due to an invitation to watch float planes at Longham Lakes. I needed to do something that had quick results, hence the float build. Today, the floats and attachment bits had two coats of sanding sealer, with the appropriate sanding (400 grit paper). The final coat was of thinned PVA, this is to enable the whole structure to be covered in Litespan to match the covering on the Lazy Bee. As an aside, my first Lazy Bee was built in the 90s when it was a new arrival. I thought it would be a good model to learn to fly RC.....turned out it wasn't. However, my present Lazy Bee is the second one I've built, and in total I've built five. In fact one was for an old friend's 80th birthday....its still flying!
Please Log in or Create an account to join the conversation.
Moderators: DaveBright
Time to create page: 0.424 seconds
©
2009 - 2026
WMAC PCF Design