Phase 5 by Chris Foss

  • MikeSeale
  • Topic Author
  • Offline
  • Platinum Member
  • Platinum Member
More
6 years 2 months ago #15981 by MikeSeale
Replied by MikeSeale on topic Phase 5 by Chris Foss
The servo bays are opened up and faced with 1/8.
Wing tips added and waiting to be carved and sanded to shape tomorrow.
Wing root sanded and ready for joining tomorrow
Attachments:
The following user(s) said Thank You: Brian

Please Log in or Create an account to join the conversation.

More
6 years 2 months ago #15986 by Phil Ford
Replied by Phil Ford on topic Phase 5 by Chris Foss
Looking good Mike. Servo bay Iayout I had planned for the Phase 6. One thing though - installing the servo leads. Slotting the underside?

?? Time of your posts - around midnight. :blink:

Please Log in or Create an account to join the conversation.

  • MikeSeale
  • Topic Author
  • Offline
  • Platinum Member
  • Platinum Member
More
6 years 2 months ago - 6 years 2 months ago #15987 by MikeSeale
Replied by MikeSeale on topic Phase 5 by Chris Foss

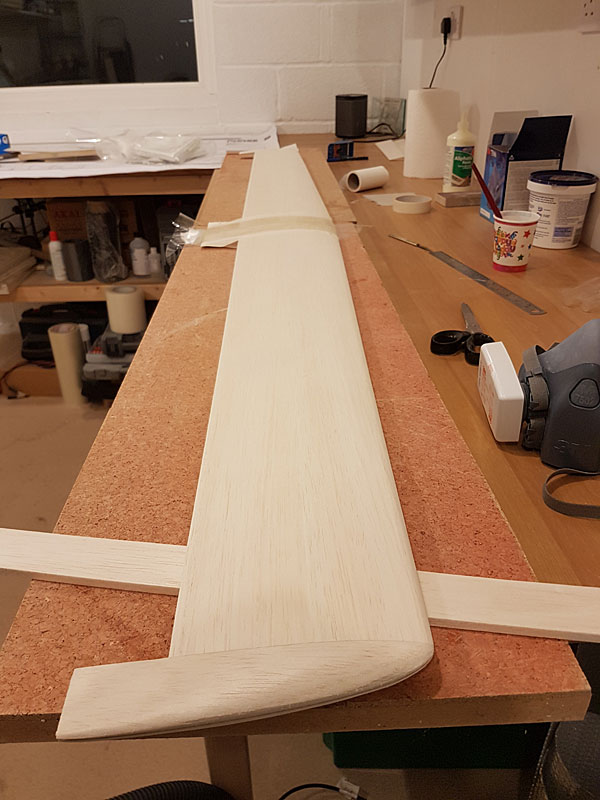
PhilF51 wrote: One thing though - installing the servo leads. Slotting the underside?

Your wing is already veneered so you could try one of the following:
1. Cut the veneer and create a slot for the servo leads, maybe install tubes (drinking straws), add 1/16 or 1/8 balsa to cap the gap you've created and sand smooth.

2. Heat the end of a piece of 8swg or 10swg piano wire. Use a simple jig to line it up so that it will melt a hole through the foam to the servo bays. The wire might sag under its own weight, so make sure you are happy that it will get to where you want it to go.

3. Sharpen a, say, 6mm brass tube and roughen it on the outside. Use a jig to guide it though the foam as you spin it so that it cuts and sands through the foam.

The first method is foolproof but takes the longest to complete. The last method is the most risky because there is a chance of the tub cutting through the veneer if you don't line your jig up properly. The hot wire method runs the risk of melting a huge hole near the root if you don't press it in fast enough, or wandering off course if you go too quickly.

PhilF51 wrote: ?? Time of your posts - around midnight. :blink:


Steady on granddad
Last edit: 6 years 2 months ago by MikeSeale.

Please Log in or Create an account to join the conversation.

More
6 years 2 months ago #15988 by Phil Ford
Replied by Phil Ford on topic Phase 5 by Chris Foss
Thanks Mike. Done some of the other methods before on foamy ARFs with reasonable success but not always. :( 
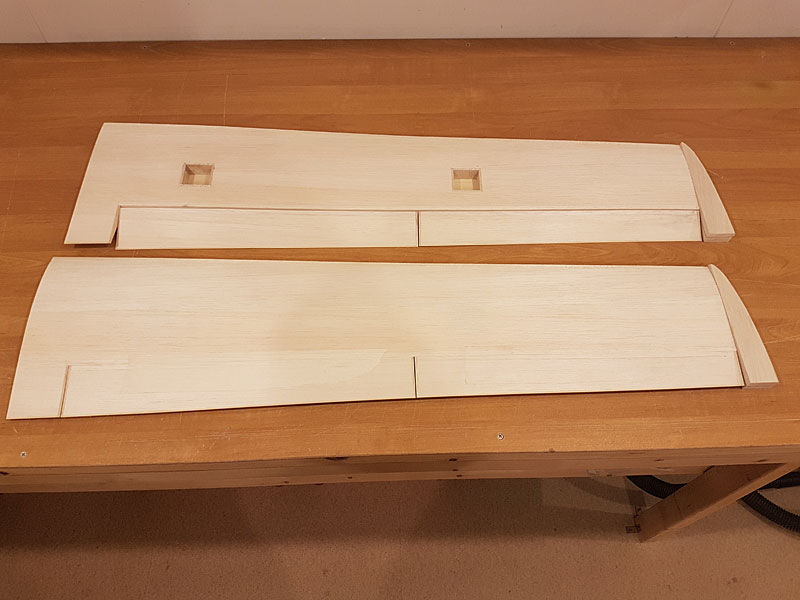
Method 1 is the way to go.

Speaking of slots do you think it is viable for me to slot the wings for a ply/carbon tube spar say around 25 % in to each wing?

Please Log in or Create an account to join the conversation.

  • MikeSeale
  • Topic Author
  • Offline
  • Platinum Member
  • Platinum Member
More
6 years 2 months ago - 6 years 2 months ago #15993 by MikeSeale
Replied by MikeSeale on topic Phase 5 by Chris Foss

PhilF51 wrote: Speaking of slots do you think it is viable for me to slot the wings for a ply/carbon tube spar say around 25 % in to each wing?


Look here
Last edit: 6 years 2 months ago by MikeSeale.
The following user(s) said Thank You: Phil Ford, Brian

Please Log in or Create an account to join the conversation.

  • MikeSeale
  • Topic Author
  • Offline
  • Platinum Member
  • Platinum Member
More
6 years 2 months ago #16002 by MikeSeale
Replied by MikeSeale on topic Phase 5 by Chris Foss
Wing is sanded and joined. Many kits used to tell you to join the wings using epoxy. This is messy and you have to work fast. I use aliphatic (yellow) glue. Gives you plenty of time to line things up and you can use masking tape to pull the two wings together for a tight and neat join. Phil, what does the P6 say for wing joining?

The joint is reinforced with a glass bandage. Again, in the past you would have been given a thick bandage that always gave you an unseemly ridge where it went from veneer to bandage. I've used several layers of thinner glass, each one getting a little wider - 20mm, 40mm, 60mm, 75mm and 90mm. You get a really strong joint this way as well as a fine edge. The widest layer goes on last to cover up any frayed edges underneath.
Attachments:
The following user(s) said Thank You: Phil Ford, Brian

Please Log in or Create an account to join the conversation.

Moderators: DaveBright
Time to create page: 0.309 seconds