- Posts: 1044
- Thank you received: 414

Scratch Built Hannibal
- Brian
-
 Topic Author
- Offline
- Platinum Member
-

Less
More
7 years 1 month ago #16940
by Brian
Replied by Brian on topic Scratch Built Hannibal
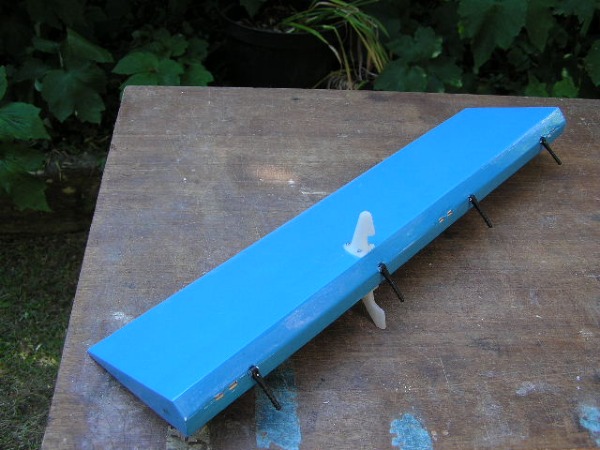
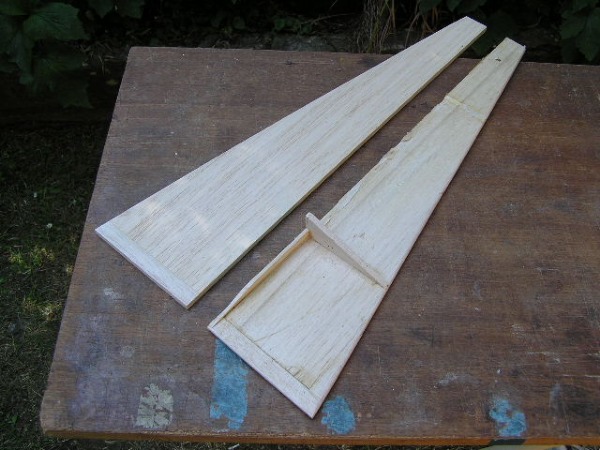
Correcting the misalignment between aileron, wing and wingtip was more complicated than I thought. Having measured a 1/8" (three and a bit mm for those who prefer Metric). Rather more detailed examination revealed that the hinge point in the spar and the hinge point in the aileron were both 1/16" (approx 1.6mm)out. However, aligning the aileron with the spar didn't solve the problem of aligning the tip. I turned the wing upside down and sighted the bottom surface with a pair of hardwood strips. There was the rest of the problem. The wing had washout of about two degrees, this was the main cause of the misalignment. After hunting around to see if I had some spare hinges, should I damage one or two in the extraction. I found the answer. Robart pin hinges. The Robart jig automatically centres the hinge, and its fairly easy to pitch the hinges along the centreline. To cure the washout, I sprayed the wing panel with water, with the inner wing weighted down I loaded the outer wing with a large piece of lead. By morning it should have dried out and with luck the warp will have been eliminated. The shot of the old and new wingtips shows the hard balsa stabilising strip glued to the trailing edge. This is to help prevent the tip from curving when the covering is shrunk.

Please Log in or Create an account to join the conversation.
- Brian
-
Topic Author
- Offline
- Platinum Member
-
Less
More
- Posts: 1044
- Thank you received: 414
7 years 1 month ago #16946
by Brian
Replied by Brian on topic Scratch Built Hannibal
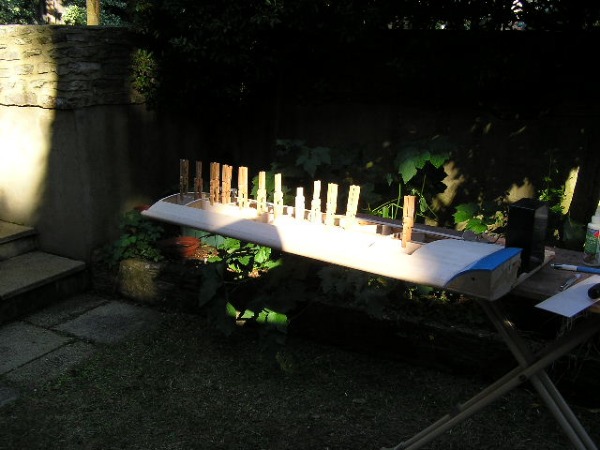
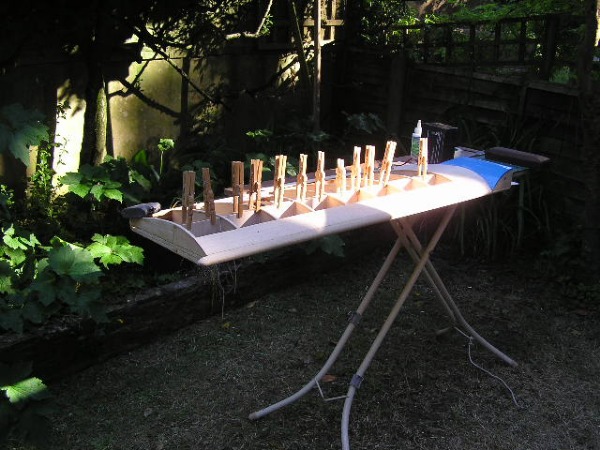
I left the wing well damped, weighted down and extra weight on the trailing edge at the tip to try to remove the washout. This morning the washout was very much reduced, but the wing now had a distinct upward curve. This seemed to be mainly down the centre of the wing.I removed all the spar webs, quite difficult as the original builder had used epoxy to fix them. Weighted the wing down again, and replaced all the spar webs. The strange looking bits of wood standing over the spar are home made pegs, very handy for clamping parts up to 5/8" (15mm) wide. Economical to make too, I made up about twenty five in various configurations, all for £1 per 100 wooden pegs from a car boot sale.
Please Log in or Create an account to join the conversation.
- Brian
-
Topic Author
- Offline
- Platinum Member
-
Less
More
- Posts: 1044
- Thank you received: 414
7 years 1 month ago #16981
by Brian
Replied by Brian on topic Scratch Built Hannibal
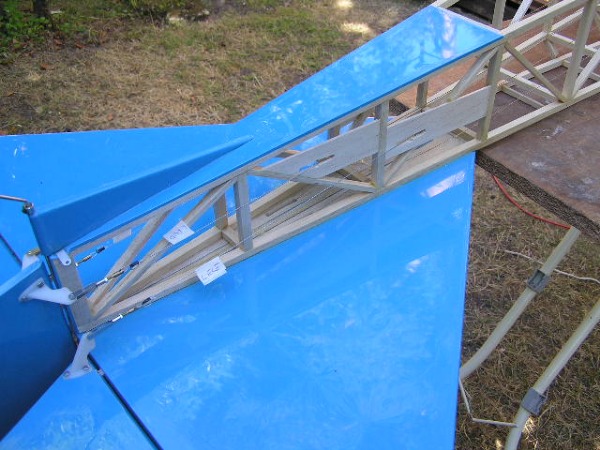
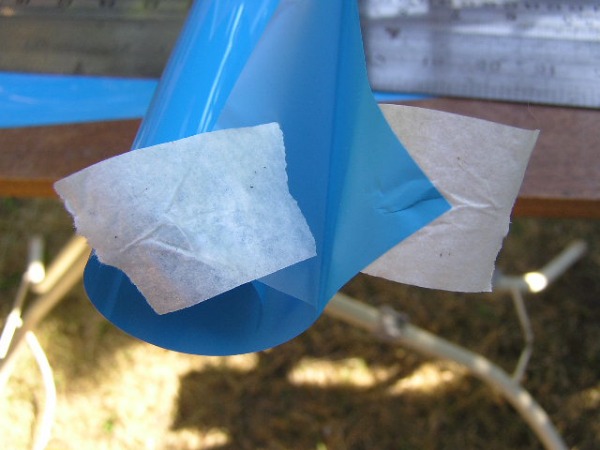
This afternoon I thought I'd better get something done to the fuselage. The covering film I'm using came from HobbyKing, it handles like Oracover, but has a semi matt transparent film backing.Peeling the backing sheet away from the covering film was fairly easy, but not until I started to use the masking tape method. I've included a picture for those modellers unfamiliar with the trick. I'm covering the fuselage in two parts, it makes it easier to pull the control wires back out with half the fuselage uncovered. The control wire guides are modified SLEC items, the small brass pulleys came from Cornwall Model Boats


The following user(s) said Thank You: 4Pedalsfly
Please Log in or Create an account to join the conversation.
- Brian
-
Topic Author
- Offline
- Platinum Member
-
Less
More
- Posts: 1044
- Thank you received: 414
7 years 1 month ago #16994
by Brian
Replied by Brian on topic Scratch Built Hannibal
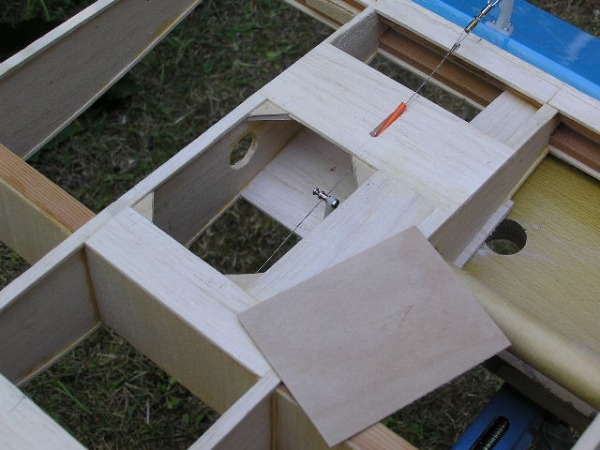
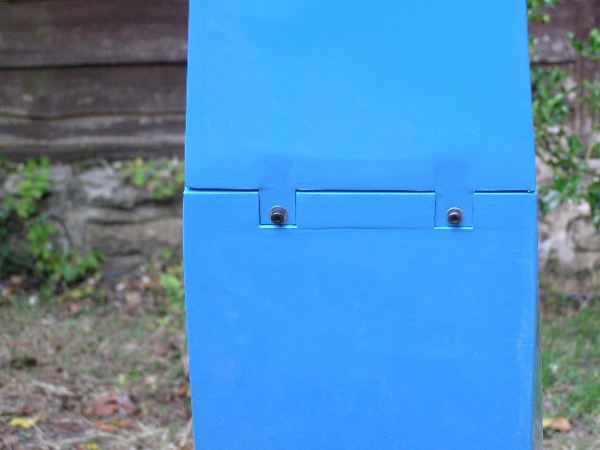
The wing servo hatches are made from 1/16" ply. The hole in the rib is not a clearance hole for the screwdriver used to adjust the position of the aileron wire on the servo horn.
The sole purpose of the hole is to allow the screwdriver to be inadvertently dropped inside the wing, thereby causing considerable lateral imbalance, and a loud thrumming noise while the model is in the air.
The sole purpose of the hole is to allow the screwdriver to be inadvertently dropped inside the wing, thereby causing considerable lateral imbalance, and a loud thrumming noise while the model is in the air.

The following user(s) said Thank You: 4Pedalsfly
Please Log in or Create an account to join the conversation.
- Brian
-
Topic Author
- Offline
- Platinum Member
-
Less
More
- Posts: 1044
- Thank you received: 414
7 years 1 month ago #17008
by Brian
Replied by Brian on topic Scratch Built Hannibal
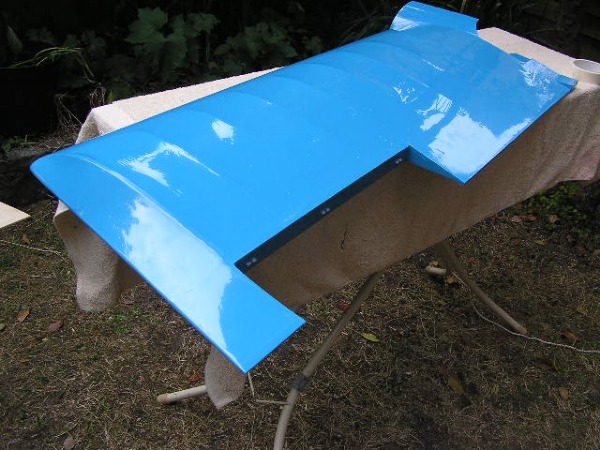
Today I covered one wing of the Hannibal. The lower surface is fairly flat, covering the main part of the wing and the tip with one piece of film went better than expected. When it came to the upper surface, I covered the tip first. The only problem I encountered was that the covering stuck to the main spar in one place, it left a row of small ripples in the finish. One other problem was the access hatch for the aileron servo. Heavy handed with the ironing of the edges of the aperture. On assembly, the hatch looked a bit "gappy". Good job they're on the underside. I was pleasantly surprised to find that the covering film from HobbyKing is easy to use. It goes round compound curves too, and just like Solarfilm, all you have to do is pull hard while ironing the film down.


Please Log in or Create an account to join the conversation.
- Brian
-
Topic Author
- Offline
- Platinum Member
-
Less
More
- Posts: 1044
- Thank you received: 414
7 years 3 weeks ago #17120
by Brian
Replied by Brian on topic Scratch Built Hannibal
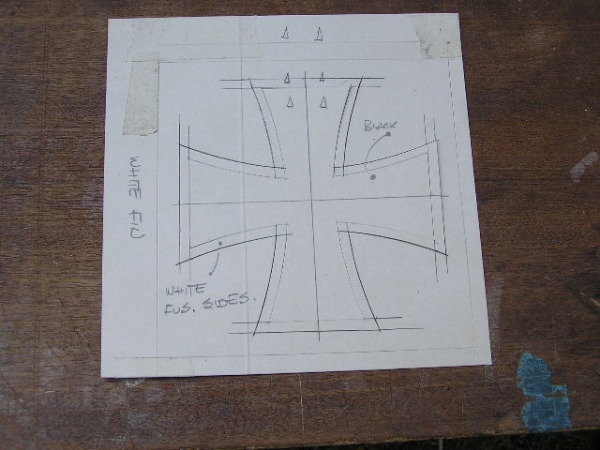
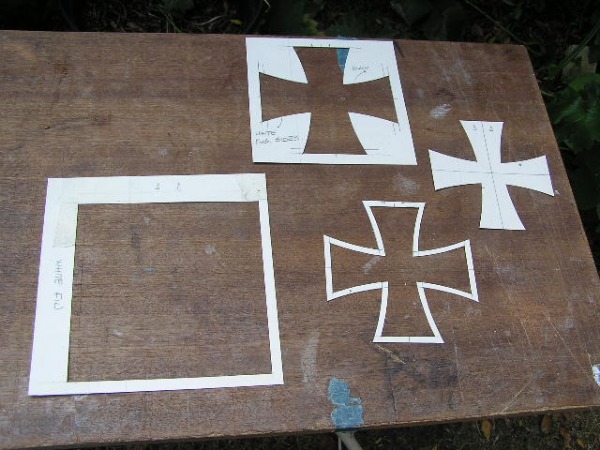
The covering on the Hannibal is finished at last. Bit of a drama last week when the covering iron's thermostat threw a wobbly. I've still got to repair the damaged area. The fuselage went together for the first time as a "finished" item. The templates are for the assorted crosses seen on WW1 German aircraft. I've opted for white square with black cross on wing undersides and sides of fin. Black cross with white outline on upper surface of wing and fuselage sides. The templates are cutting guides for the frisket film spray masks. The build is slowing due to the weather, from around ten in the morning, my outdoor "workshop" is too hot for comfort. Evening work is dodgy as we have squadrons of midges and mosquitoes.

Please Log in or Create an account to join the conversation.
Moderators: DaveBright
Time to create page: 0.322 seconds
Latest Posts
-
-

- Can we fly turbines again yet??
- In Main Forum / Announcements
- by Remedii1
- 2 hours 15 minutes ago
-
©
2009 - 2025
WMAC PCF Design