- Posts: 1179
- Thank you received: 265


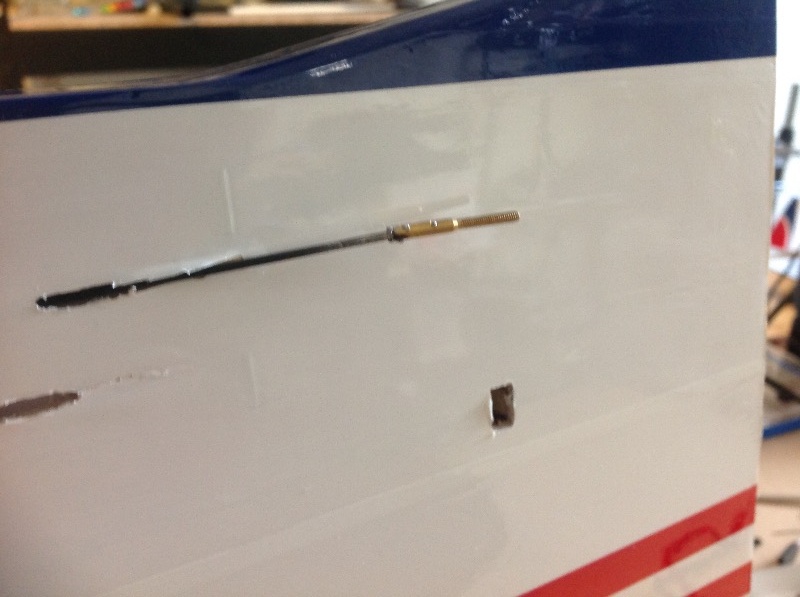
") I squeezed the torque area tightly with some strips of ply between my fingers and the flap. Bent the best I could get. I was maybe lucky, my epoxied glue had not loosened.
I squeezed the torque area tightly with some strips of ply between my fingers and the flap. Bent the best I could get. I was maybe lucky, my epoxied glue had not loosened. 

Latest Posts
-
-

- Ray Ivey's Models
- In WimborneMac Members / For Sale - Exchange - Wanted
- 1 day 6 hours ago
-
-
-

- Various Gliders from Dave Ambrose ex W.M.A.C Membe...
- In WimborneMac Members / For Sale - Exchange - Wanted
- 1 week 3 days ago
-
©
2009 - 2025
WMAC PCF Design